Helmet care is an oft-overlooked aspect of motorcycle life, but it need not be. This job takes next to no time and brings big benefits.
Foremost is safety; a dirty visor impedes vision and makes for a harrowing experience on the road. Don’t think you can just flip it up, either; a bee to the eyeball at 40mph is no laughing matter.
After that, there’s comfort. Your head goes in your helmet, why not make it a nice place to be?
Read on for a guide to helmet cleaning, with some valuable tips and tricks to use when you tackle your own.
Save Money On Your Motorcycle Insurance
- You could pay less than £195*
- Compare quotes from 25+ UK providers
- Fill in one form to compare top bike insurers
What you Need To Clean a Motorcycle Helmet
The tools for this job can be as straightforward or as complex as you want them to be. There are hundreds of cleaning products on the market pitched specifically at those looking for a clean lid- like this S100 kit on SBS.
Quality varies amongst them, as does their usefulness, but if your helmet is expensive, new, or both, they are an interesting avenue to check out.
That said, you can also clean your helmet for next to nothing, and that’s the way I’ll be showing you here.
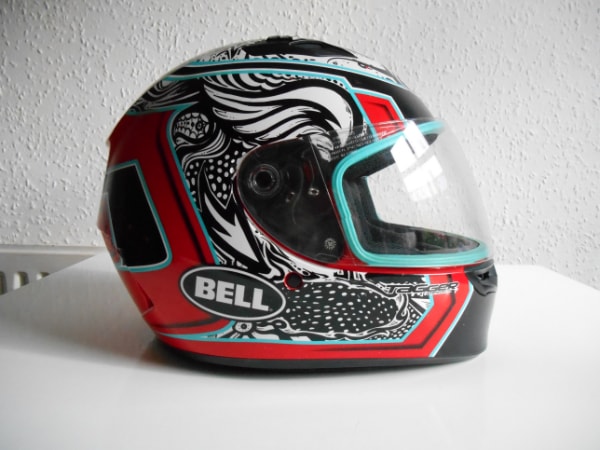
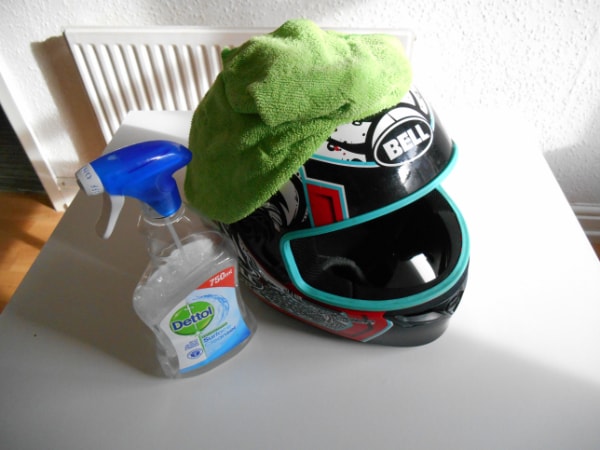
The helmet I’m cleaning is a Bell Street 2019. This particular one takes a lot of abuse as a commuter lid on UK roads.
Equipping yourself for this task is simple, and I managed to find everything I needed around the house. The list is as follows:
- Dishrag
- Microfiber Cloth
- Polishing Cloth
- Surface Spray (non-bleach)
- Washing Up Liquid
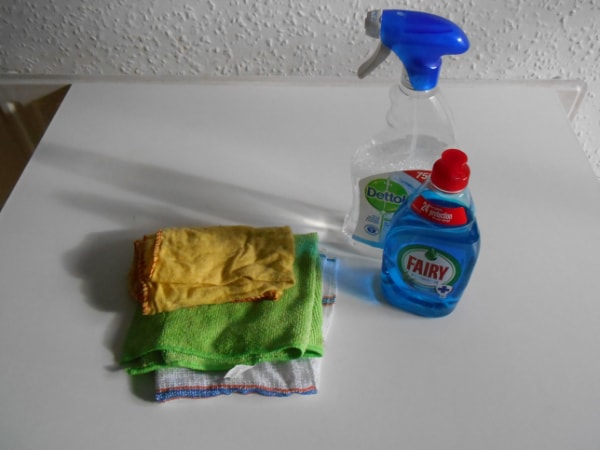
Not pictured: a clean towel and some kitchen roll, which I’ll use later.
Top Tip:
The Owner’s Manual is your friend! It will often contain cleaning instructions for your helmet. If you don’t have it anymore, try a google search for your helmet model, and it shouldn’t be hard to find.
Set Up And Preparation
Now you’ll want to get your helmet, and yourself, ready. Try to work next to a source of running water, like a hose or a tap, and ensure you’ve got a large area that you don’t mind getting wet.
The Kitchen or the Bathroom are the obvious candidates, though you could also tackle this outside if you were some sort of maverick thrillseeker.
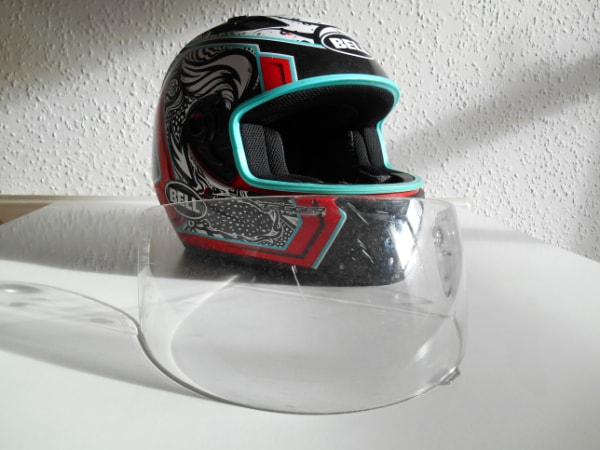
First step is to remove the visor. It’s worth checking your manual here, or having a look online, but most helmets have a very simple and intuitive system of clips and strings that’s easy to operate.
Mine can be popped off in a couple of seconds with two arms mounted under the hinge points.
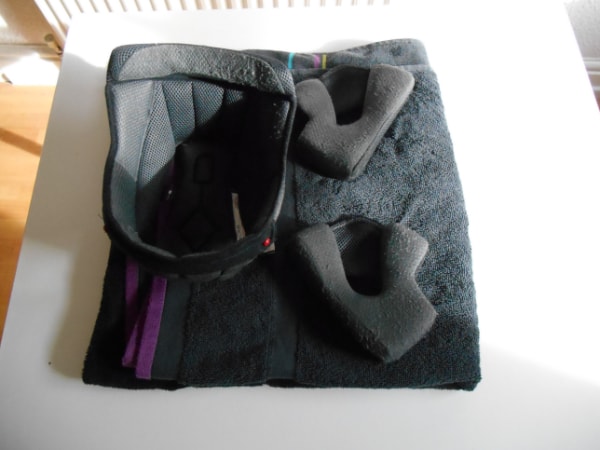
After that, you can take out the inner linings and pads. In my case, these were attached with a few pop tabs and a strip of velcro. Just find the attachment points, and carefully remove them without applying too much force.

Now close all your vents up, to stop any dirt being washed in whilst cleaning, and you’re ready to go.
Cleaning
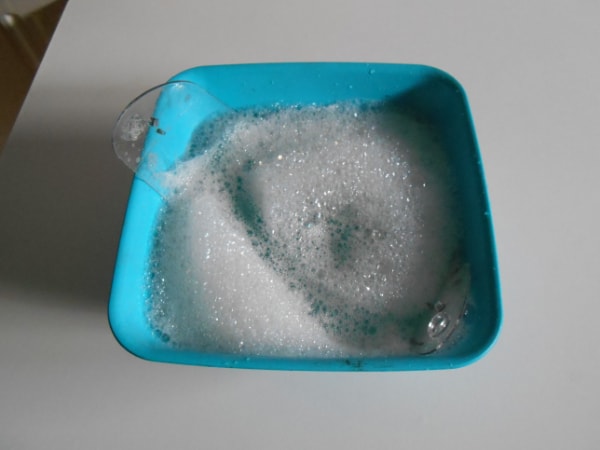
With all the components of the helmet separated, cleaning can commence. Tackling the pads and lining first is a good idea, as this will allow them the maximum drying time. Fill up a large bowl with hot water and Washing Up Liquid, and chuck them in.
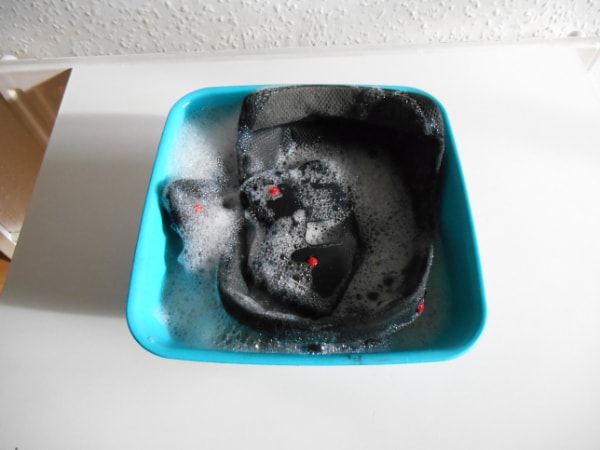
Once they’re saturated, agitate them in the water with your hands and work the soap through. If yours are anything like mine were, you’ll be morbidly surprised by the colour change in the water. Rinse and repeat until the water wrung out of each component runs clear.
I’ll be air drying mine, so this is where that clean towel comes in, but if you were under time pressure you could also use a hairdryer on its lowest setting.
Just be careful not to heat up the plastics or foam by using sweeping passes and not prolonged, direct heat.
Top Tip:
Don’t be tempted to put these in the washing machine- the temperature and violent movement will likely cause damage.
Next up, the visor. This is arguably the most important part of the process because- you know- you need to see, so it pays to give a little extra care and attention to these next steps. With that in mind, submerge the visor in some fresh soapy water.
Now use the microfiber cloth and polishing rag together to clean the visor’s inner and outer surfaces gently.
If there are any stubborn marks on stuck-on grime, don’t be tempted to use any other cloth or sponge with an abrasive surface- stick to your microfiber cloth and use a fingernail through it to remove the offending dirt.
With that done, pat the visor dry. Then switch to your polishing cloth and, well, polish.
Now is also the time to apply any visor coating you may have, but I find the touch of the washing up liquid is often enough to provide some lubrication for rainwater runoff.
For more see how to keep rain off a motorcycle helmet visor.
Top Tip:
Hold the visor up to natural light occasionally whilst cleaning- it’s easy to miss marks and streaks otherwise.
Now you’ll want to move on to the shell of the helmet.
Use your surface spray and microfiber cloth, but apply the spray to the cloth instead of the shell itself to stop over application. An optional extra step here is to use an old, soft bristled toothbrush on the vents and other hard plastic inserts to really get into all the nooks and crannies.
Either way, ensure you’re thorough here, as many places on a helmet will collect dirt and are easy to miss when cleaning.
An example is the rubber seal that acts as a gasket between the helmet and visor- these will often have recesses that need special attention to get all the grime out.
Last Steps
Now that all the actual cleaning is done, you can start to put your helmet back together. Before you do, though, you can spray the inside of the shell with some air freshener or similar anti odour product- make sure it’s non-aerosol, as the solvents in spray cans can wreak havoc with the foam in your helmet and render it useless.
Clip in all your linings and pads, being careful to line up and attach them by all available points, and reattach your visor.
Check the action in the hinges to ensure you’ve done this right and it won’t fly off at speed or on being lifted, and you’re done.
You can look forward to a sweet smelling, bacteria and dead insect free helmet experience- at least until the next rain.